去中心化 安全
比特币以没有意义的耗时复杂运算(工作量证明PoW)竞争新区块的记账权 即挖矿过程
94年出生的维塔利克 被比特币吸引 加入到比特币交流的圈子 受其启发 提出结合图灵完备语言 实现基于区块链的基础建设 即以太坊的概念
2015年以太坊第一版。
以太坊整合智能合约平台的数字货币网络,其转换了区块链应用开发的思维模式,对底层区块链技术进行了封装,降低了区块链应用的开发难度。开发人员可以借助智能合约完成各种业务,包括但不限于金融交易、众筹、公司管理、知识产权管理等。
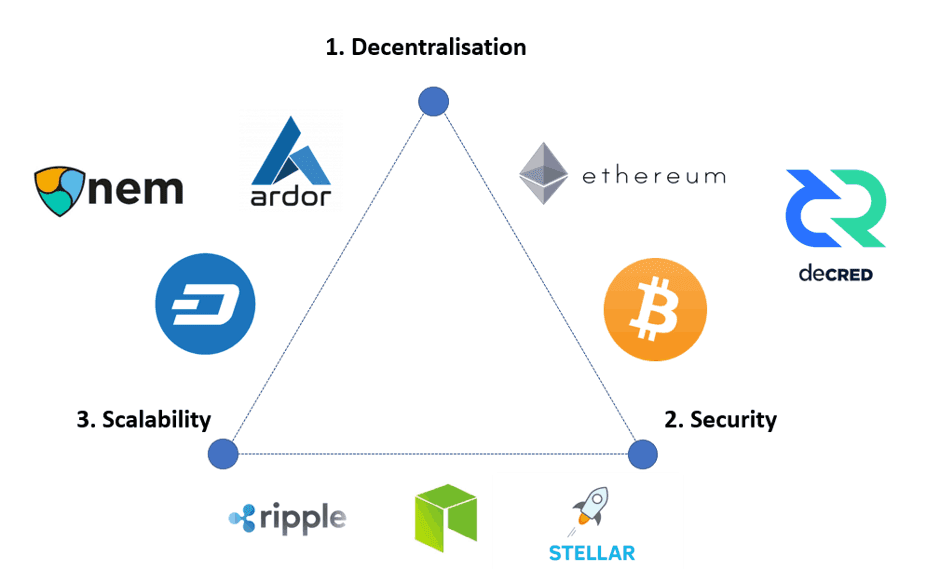
不可能三角: 去中心化 — 可扩展性 — 安全性
DAO(Decentralized Autonomous Organization)去中心化自治组织
DApp(Decentralized Application)去中心化应用 包括金融 社交 游戏 NFT等
DeFi(Decentralized Finance)去中心化金融
NFT(Non-Fungible Tokens)非同质化资产